How I Use Asana for Event Templates

In a recent post I sang the praises of Asana, our team’s task and project management system. In that post, I mentioned that one of my favorite features is the ability to use templates as a way to easily replicate recurring events. In this post, I’ll walk you through that simple process.
It’s important to note that Asana uses the word “template” to define example projects they’ve laid out in the system for the user’s use: things like meeting agendas, business plans, fundraising campaigns, and more are all in there. And while those templates are great (and you should give ’em a browse), I’m referring to templates that I’ve created for the sole use of repeatable events and projects.
(Also, literally one hour after drafting this post, Big Brother Asana popped up a helpful little box about their “brand new” Task Templates feature, which I haven’t seen yet. So feel free to check that out.)
I tell our team that if an event is worth doing twice, it’s worth documenting once. You’ll save yourself a ton of time, energy, and headaches if you’ll just take the time to record your work this time so you don’t reinvent the wheel next time.
Here’s my process:
1. Pick a repeating event or project.
This can be literally anything: a weekly communication email that you send out. A monthly meeting with your team. A quarterly book club that you’re in charge of. Some events and projects may be close enough in proximity that they don’t necessitate a template…Asana’s repeating tasks will be fine.
(For example, I have a list of things I always include on my weekly email to Guest Services Directors. Those are repeating tasks within a standing project, not a build-from-scratch project I create every week from a template.)
2. List every conceivable task you can think of.
In Atul Gawande’s incomparable book The Checklist Manifesto, he says “The volume and complexity of what we know has exceeded our individual ability to deliver its benefits correctly, safely, or reliably. Knowledge has both saved us and burdened us.”
Asana will help you take the complexity of what you know and aid you in delivering it correctly and reliably. So go nuts: there’s no level of minutiae that you should overlook when it comes to a project or event. Do you need to draft the copy for the “save the date” postcard? List it as a task. Need to buy stamps for said postcards? Write that junk down.
3. Break the tasks up in sections.
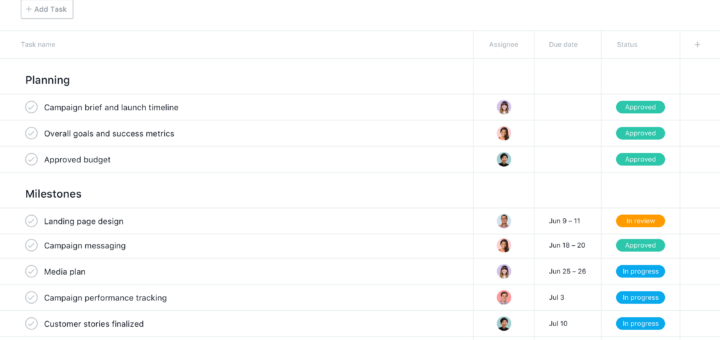
You can set up sections to be whatever you want them to be. My tool of choice is “weeks out” sections. For an event or project, these are the things I need to do eight weeks out, six weeks out, the day before, etc. It’s a simple visual guide to what needs to happen when. And if you don’t like a task in a certain section, drag it to another one.
4. Duplicate your template to create the project / event.
Now is where the rubber meets the road: you’re going to duplicate this project (remember, I’m hijacking their term “template,” the thing you just created is actually called a “project”), and start with the actual, tangible event or project that’s coming up. So instead of “Template: Monthly Staff Meeting,” you’ll duplicate and rename to “January 2022 Monthly Staff Meeting.”
5. Set your start date as task #1.
Most of the time, the only immediately actionable item you might have is the one to kick off the project. For example, our team hosts a “lunch and learn” training for our staff twice per year. When we wrap up an event in September, I’ll create another project for the event the following spring. But at that moment, there’s not one single thing I need to do except create a task (and date it) that says “Assign all dates and people below.” And then…
6. Assign your dates and people.
At some point before your earliest tasks start coming due, run through your project and dish out who is responsible for what, and when. Yes, earlier you put tasks under “eight weeks out” sections. But now it’s time to translate “8 weeks out” to “due January 4.” (Oh, and a pro tip from Uncle Danny: it’s always nice to give your team a heads up that they’re about to suffer an avalanche of notifications of task assignments, and invite them to temporarily turn those notifications off.)
7. Execute your event.
’nuff said.
8. Review and revise.
Here’s where you move from “so-so project manager” to “project ninja.” As you’re working through your Asana project, jot down the things that you do for that event that wasn’t on your original list. And then when the event is over, go back to your template (steps 1-3 above) and add those back in. That allows you to fine-tune a project as you go, and ensures that the thing you promised you’d remember the next time around…you’ll actually remember.
Do you use Asana (or some type of task management tool) for your event and project planning? I’d love to hear about your system!
